Email :155
Cleaning the engine bay is one of the most overlooked yet essential aspects of car detailing. A clean engine not only enhances the vehicle’s appearance but also helps prevent corrosion, identify leaks, and maintain optimal performance. However, improper cleaning can damage sensitive components or electrical systems. By following best practices for engine bay cleaning, detailers and car owners can achieve a safe, professional, and lasting result.
Step 1: Prepare the Vehicle
Before starting, ensure the engine is cool to the touch. Working on a hot engine can be dangerous and may cause cleaning chemicals to evaporate too quickly. Remove loose debris such as leaves and dirt from the engine bay using a soft brush or compressed air. Disconnect the negative battery terminal if you plan to do a more thorough cleaning near electrical components.
Step 2: Mask Sensitive Components
Cover sensitive areas like the alternator, exposed wiring, sensors, and air intake with plastic bags or aluminum foil. This prevents water and cleaning solutions from causing electrical shorts or damage. Proper masking is critical for safe engine bay detailing.
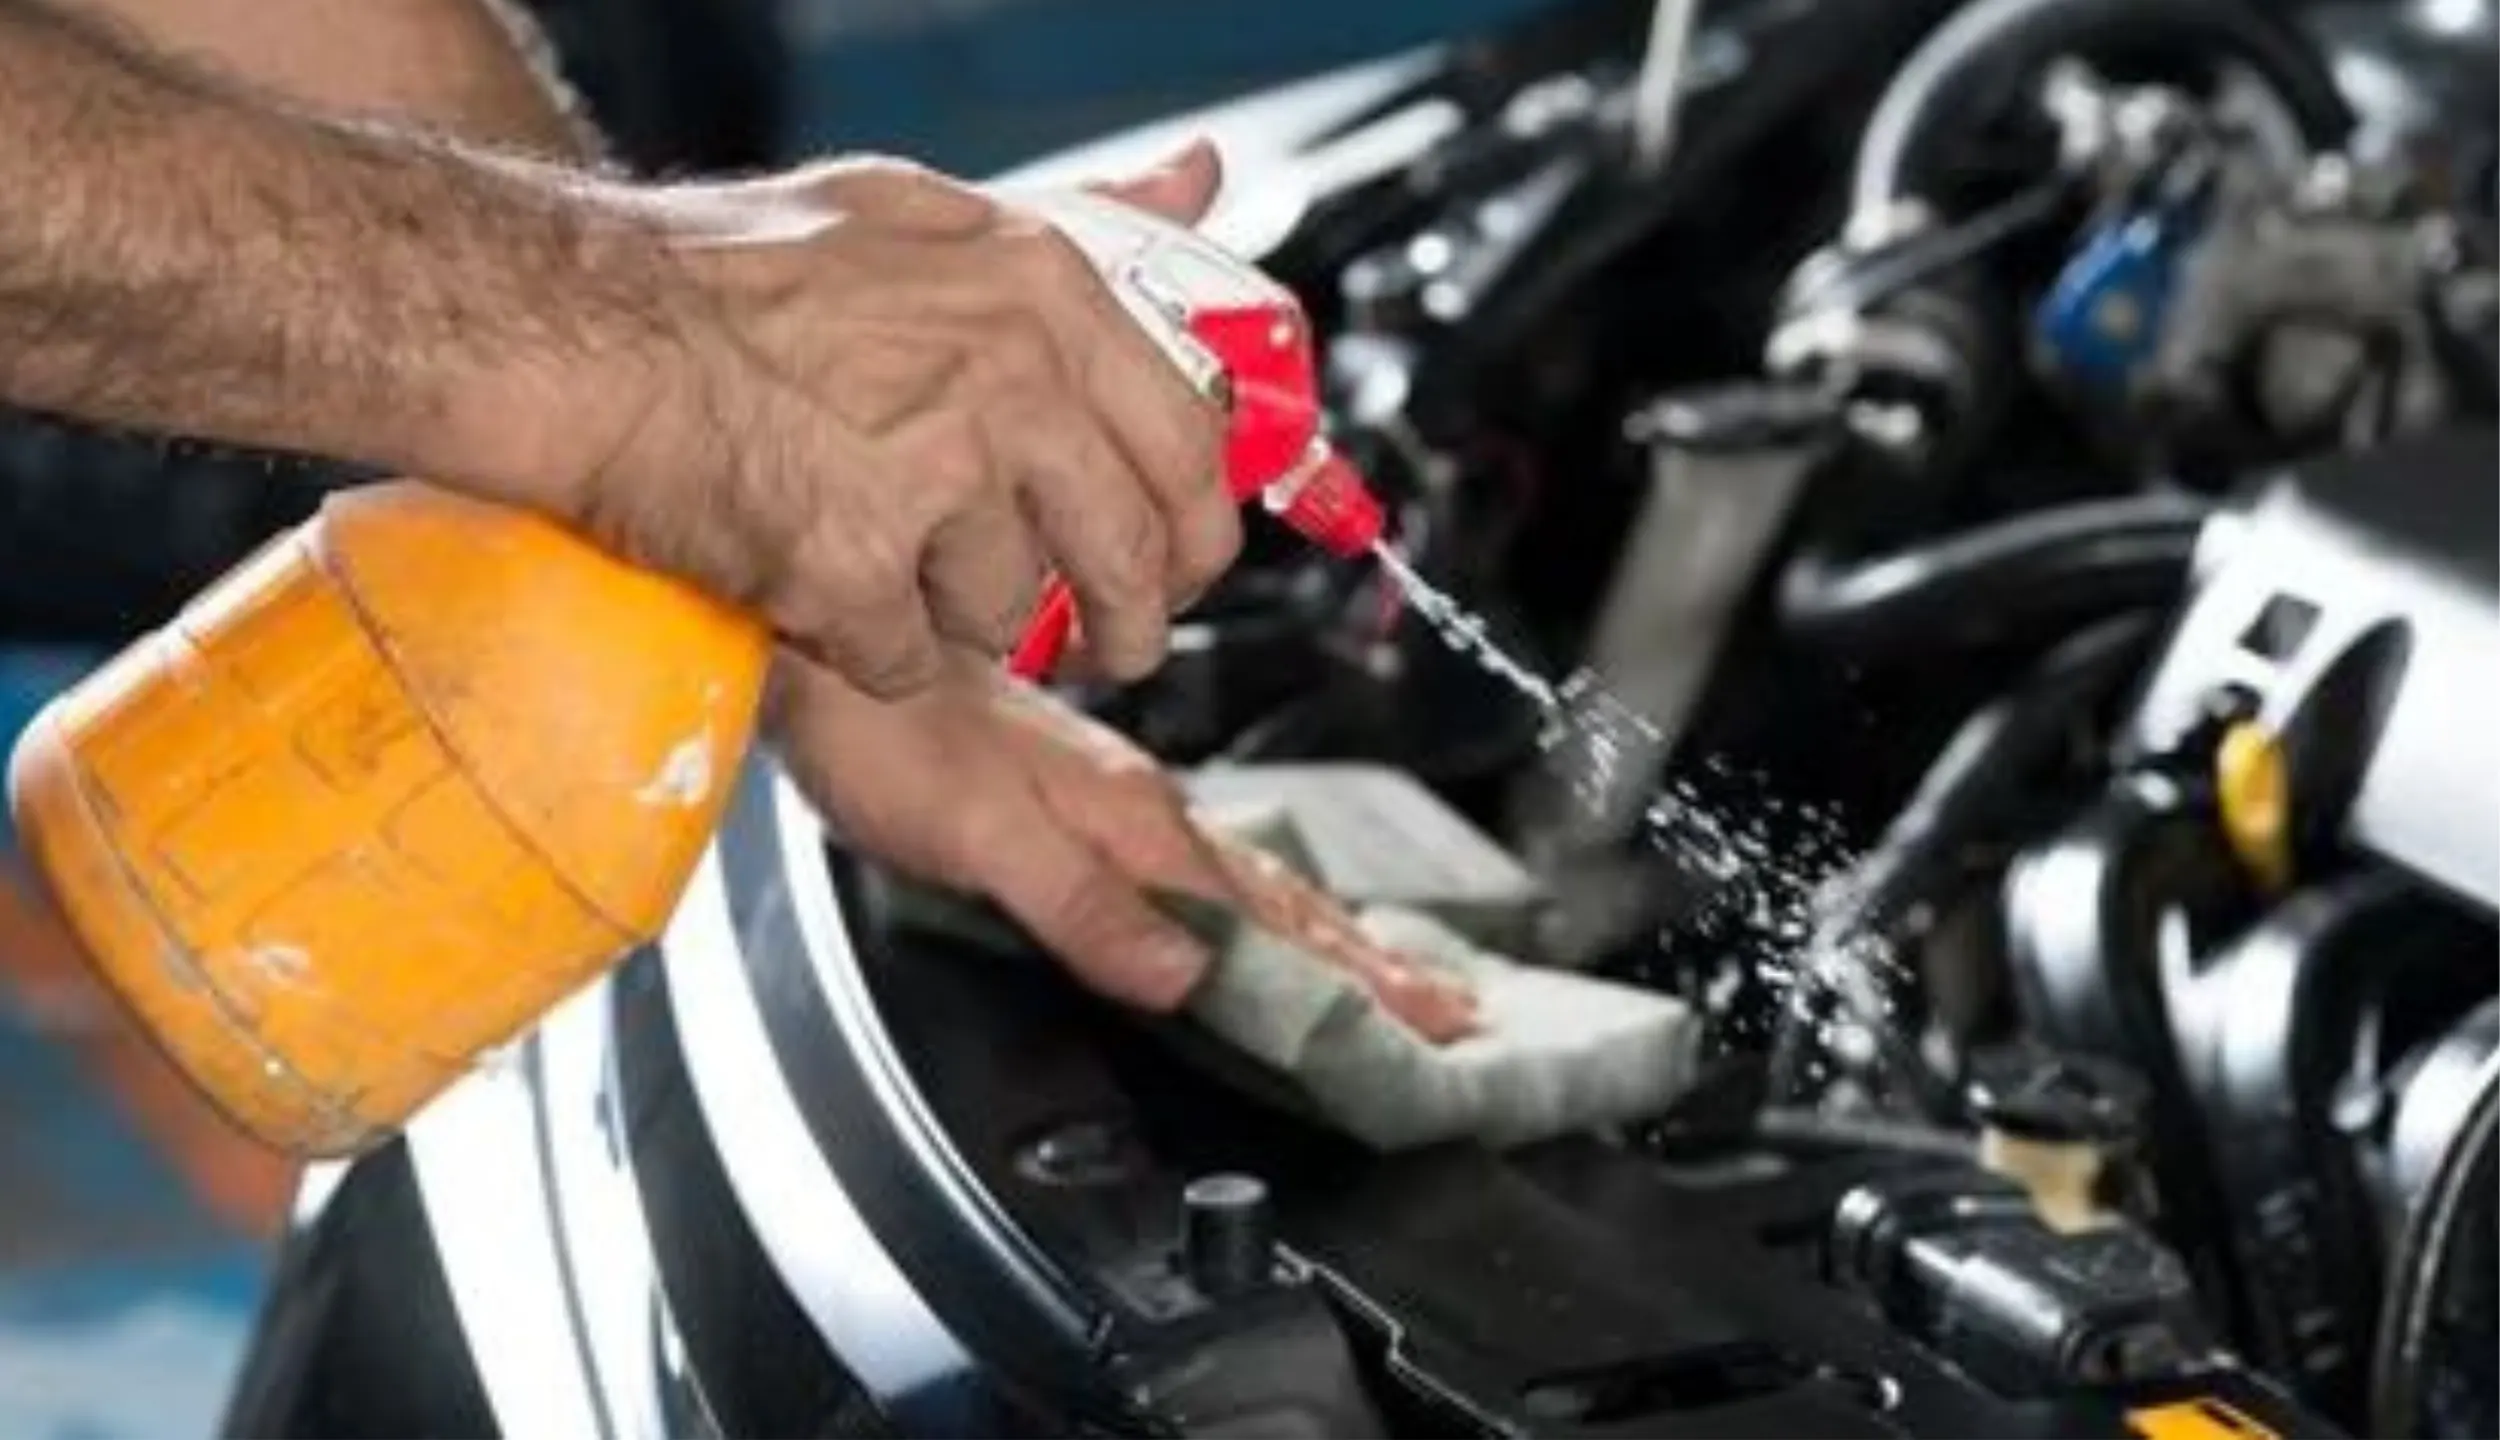
Step 3: Pre-Clean the Surface
Spray the engine bay with a dedicated degreaser or all-purpose cleaner. Allow it to sit for a few minutes to break down grease, oil, and grime. Avoid letting the solution dry on the surface, as this can leave streaks or residues. For stubborn buildup, use a soft detailing brush to agitate the degreaser gently.
Step 4: Rinse Carefully
Use a low-pressure water source or a spray bottle to rinse the engine bay. Avoid high-pressure washers, as they can force water into sensitive electrical components or connectors. Work in sections, ensuring the cleaning solution is thoroughly rinsed off without pooling in any areas.
Step 5: Dry the Engine Bay
Drying is essential to prevent corrosion or water spots. Use microfiber towels to remove excess water from surfaces. Compressed air can help remove water from tight spots and crevices. Allow the engine bay to air dry completely before removing protective covers or reconnecting the battery.
Step 6: Detail and Protect
Once dry, use a plastic and rubber dressing to restore the sheen of hoses, plastic covers, and trims. Avoid silicone-based products on electrical components. Applying a protective dressing not only enhances appearance but also helps prevent cracking, fading, and dust accumulation.
Step 7: Inspect and Maintain
After cleaning, inspect the engine bay for leaks, worn belts, or loose connectors. Regular engine bay cleaning—once every few months depending on driving conditions—helps maintain vehicle longevity and makes future maintenance easier.
Safety Tips
-
Always wear gloves and eye protection when handling chemicals.
-
Avoid spraying degreasers directly on hot components.
-
Work in a well-ventilated area to prevent inhaling fumes.
Conclusion
Engine bay cleaning is a combination of careful preparation, safe techniques, and protective detailing. By following these best practices, car owners and detailing professionals can achieve a clean, professional-looking engine bay without risking damage. Regular maintenance keeps the engine bay looking pristine, enhances vehicle longevity, and ensures that your car performs at its best.


