Email :180
Swirl marks are one of the most common imperfections in a car’s paintwork. Often caused by improper washing, dry wiping, or automatic car washes, these fine scratches can dull the finish and reduce the vehicle’s visual appeal. Fortunately, with the right techniques and products, swirl marks can be safely removed to restore a showroom shine. Here’s a step-by-step guide to help detailers and enthusiasts tackle them effectively.
Step 1: Wash and Decontaminate the Vehicle
Before attempting any paint correction, ensure the surface is spotlessly clean. Begin with a pH-neutral car shampoo and use the two-bucket method to minimize the risk of introducing new scratches. Follow up with a clay bar treatment or iron remover to remove embedded contaminants that washing alone cannot eliminate. A clean surface ensures the polishing process is safe and effective.
Step 2: Inspect Under Proper Lighting
Swirl marks are often subtle and may not be visible in normal lighting. Use LED or natural daylight to inspect the paint carefully. Proper lighting will help you identify the areas that need attention and determine the severity of the swirls. This step is crucial to avoid over-polishing or missing problem spots.
Step 3: Choose the Right Polish and Pad
Selecting the correct polish and pad combination is essential. For light swirls, a finishing polish with a soft foam pad may suffice. For deeper swirls, use a medium-cut polish with a microfiber or wool pad. Using the wrong combination can damage the paint or fail to remove imperfections.
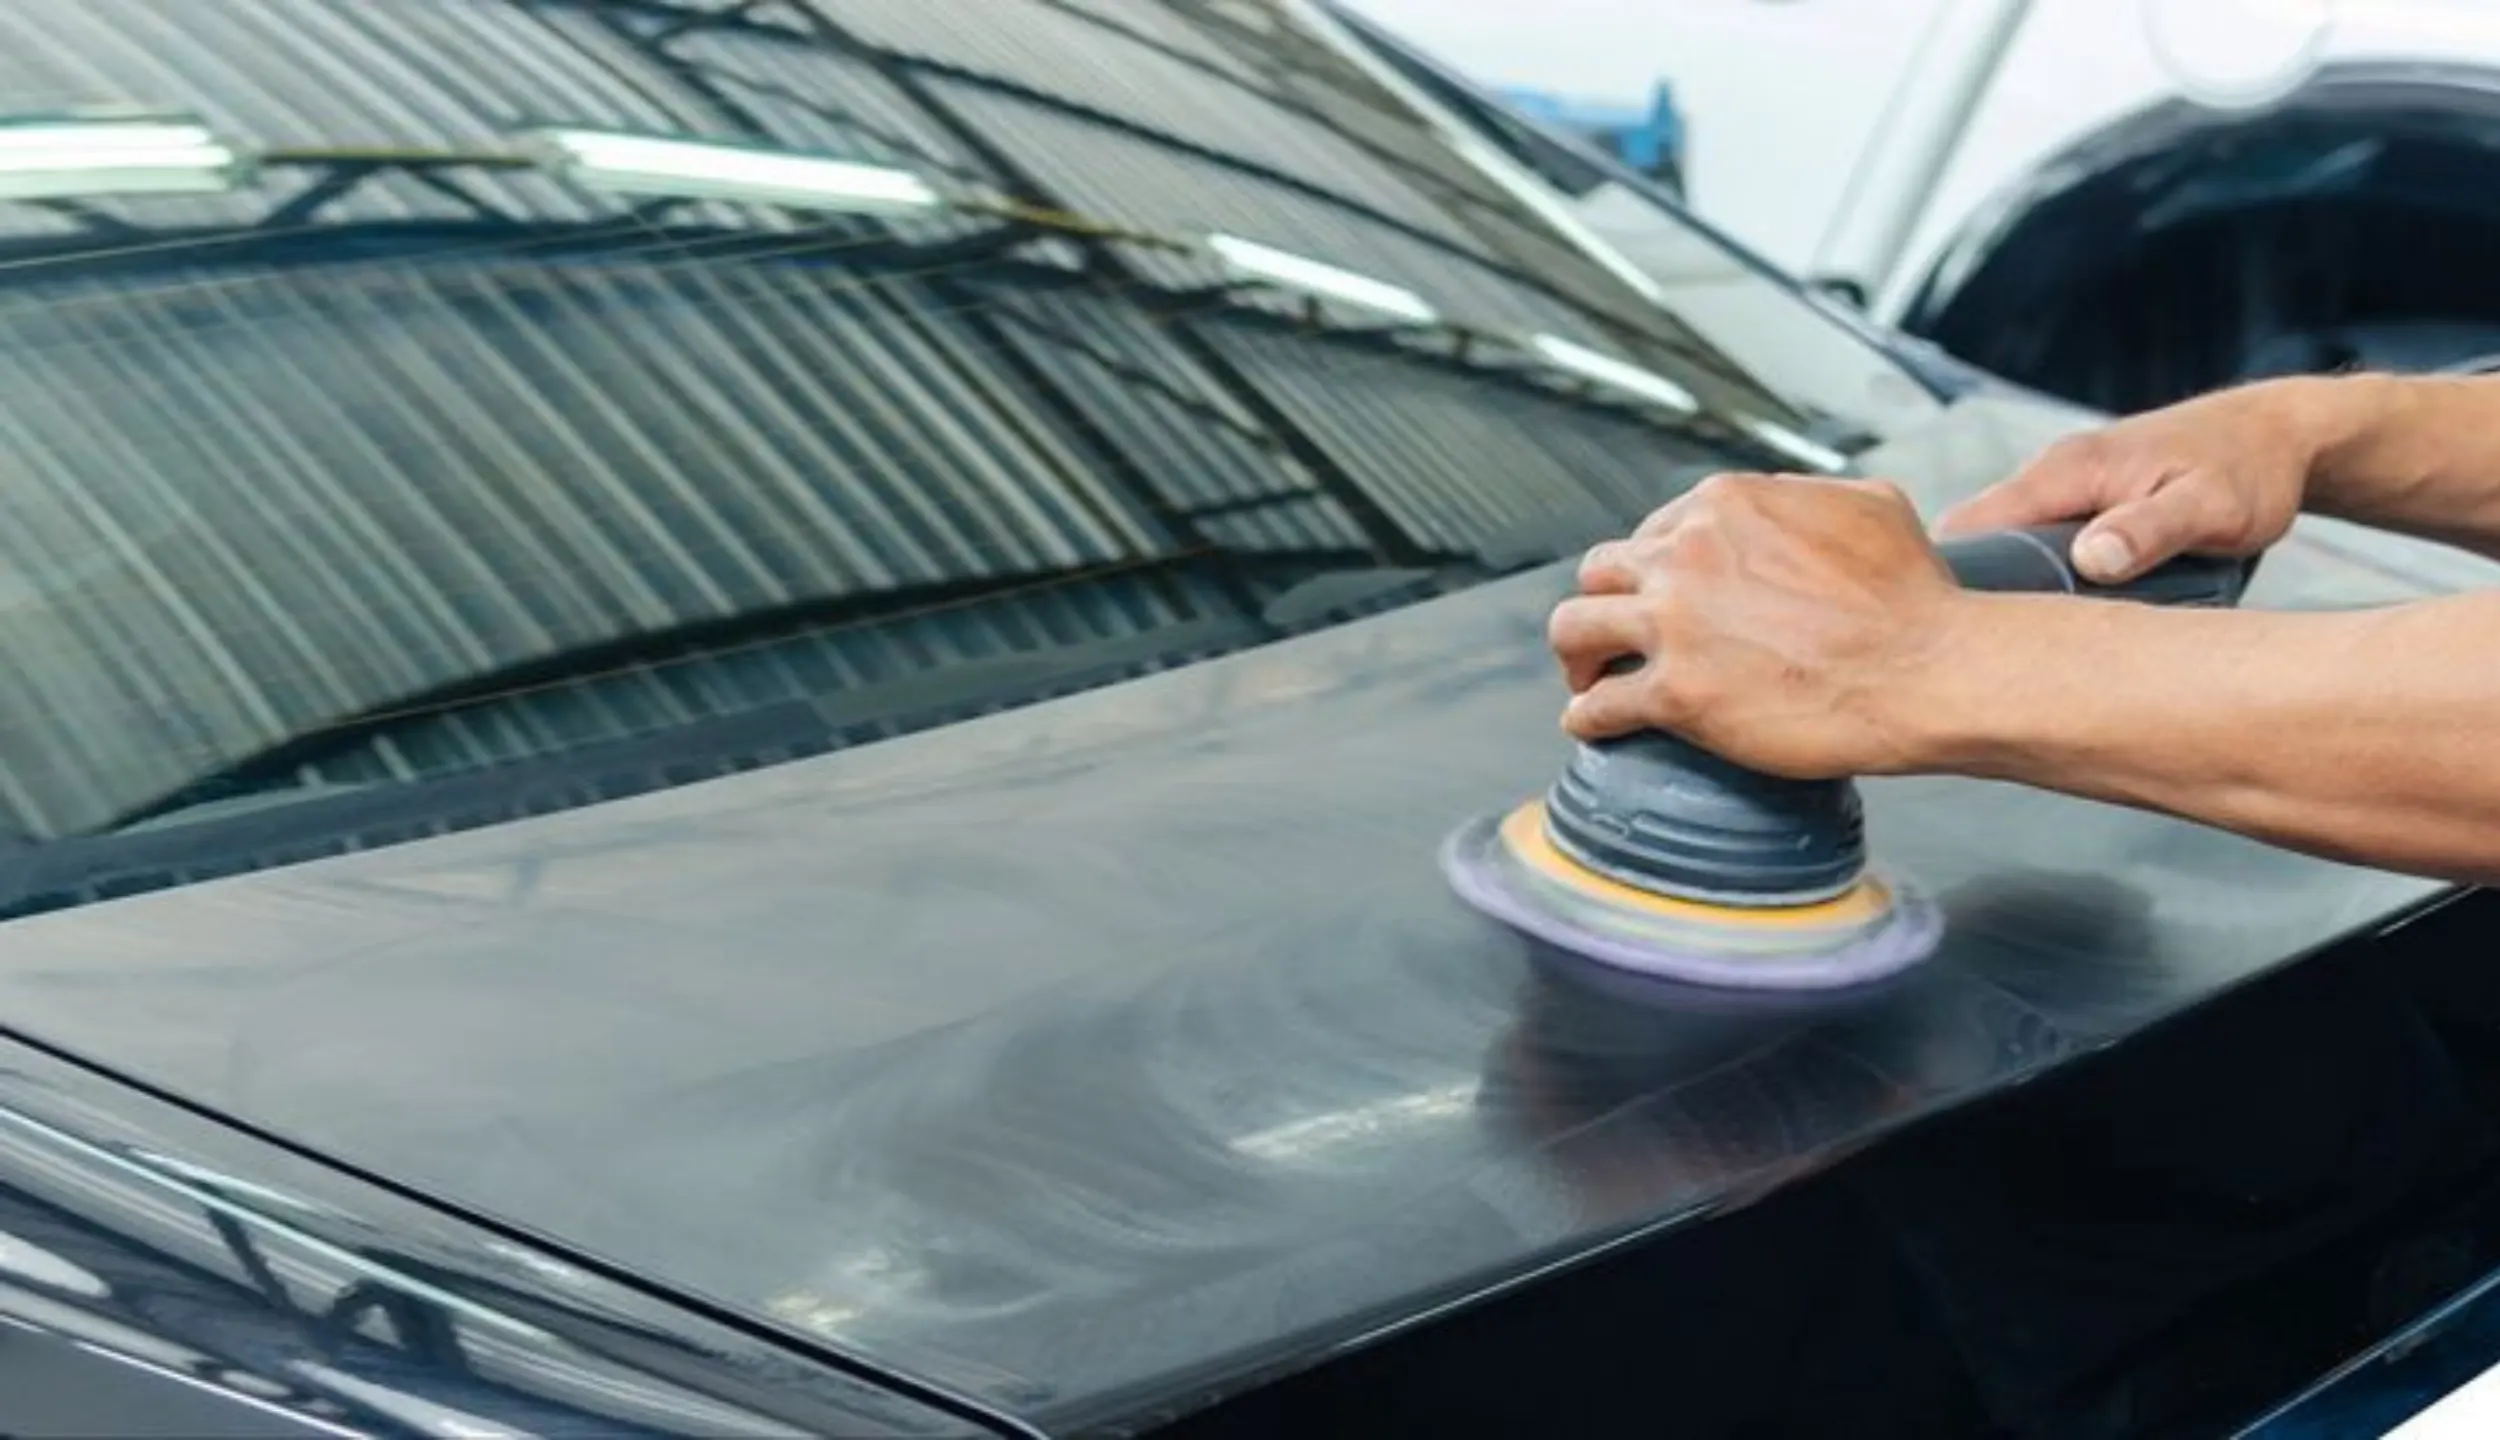
Step 4: Use a Dual Action Polisher
A dual action (DA) polisher is ideal for safely removing swirl marks, especially for beginners. Apply a small amount of polish to the pad, spread it over a 2×2-foot section, and start at a low speed to distribute the product evenly. Gradually increase the speed, using overlapping passes to ensure consistent correction. Avoid pressing too hard; let the polisher and abrasives do the work.
Step 5: Wipe and Inspect Frequently
After polishing each section, wipe the area with a clean microfiber towel to remove residue. Reinspect under proper lighting to check if the swirls are gone. Repeat the process for stubborn marks, switching to a more aggressive combination if necessary.
Step 6: Refine and Enhance Gloss
Once the swirls are removed, refine the paint using a finishing polish and soft pad. This step smooths the surface, enhances clarity, and ensures a mirror-like finish. Proper refinement prevents haze and restores depth to the paint.
Step 7: Protect the Paint
Polishing removes a thin layer of the clear coat, leaving it vulnerable. Always seal the corrected paint with wax, sealant, or a ceramic coating. This protects against future swirls, UV damage, and environmental contaminants, ensuring long-lasting results.
Conclusion
Removing swirl marks safely is a combination of preparation, technique, and the right tools. By thoroughly washing, using proper lighting, selecting the correct polishes and pads, and finishing with protective coatings, detailers can restore flawless paint finishes without causing further damage. With patience and attention to detail, swirl marks can become a thing of the past, leaving vehicles looking pristine and professionally maintained.

