Email :322
Ceramic coatings have become a staple in modern detailing, offering long-lasting protection, hydrophobic properties, and an unmatched glossy finish. However, applying ceramic coating incorrectly can lead to streaks, high spots, or poor durability. For detailers and car enthusiasts looking to achieve professional-grade results, following the right steps is essential. Here’s a step-by-step guide to applying ceramic coating like a pro.
Step 1: Thoroughly Wash and Decontaminate the Vehicle
Preparation is critical. Begin with a pH-neutral car wash to remove dirt, dust, and grime. Follow up with a clay bar treatment or an iron remover to eliminate embedded contaminants. Any debris left on the surface can interfere with the coating, causing imperfections or uneven bonding. For the best results, make sure the car is completely dry before proceeding.
Step 2: Paint Correction
Ceramic coatings seal the paint, so any existing swirl marks, scratches, or oxidation will be locked in if not corrected. Use a dual-action polisher with the appropriate polish and pad combination to remove defects. Once paint correction is complete, wipe the surface with isopropyl alcohol (IPA) or a panel prep solution to remove oils and residues. This ensures the coating bonds directly to the paint.
Step 3: Choose the Right Application Tools
Professional detailers use soft suede or microfiber applicator pads to apply ceramic coating. Small foam or microfiber cloths can also work, but the key is even distribution. Always apply the coating in small, manageable sections—typically 2×2 feet—to ensure consistent coverage and avoid high spots.
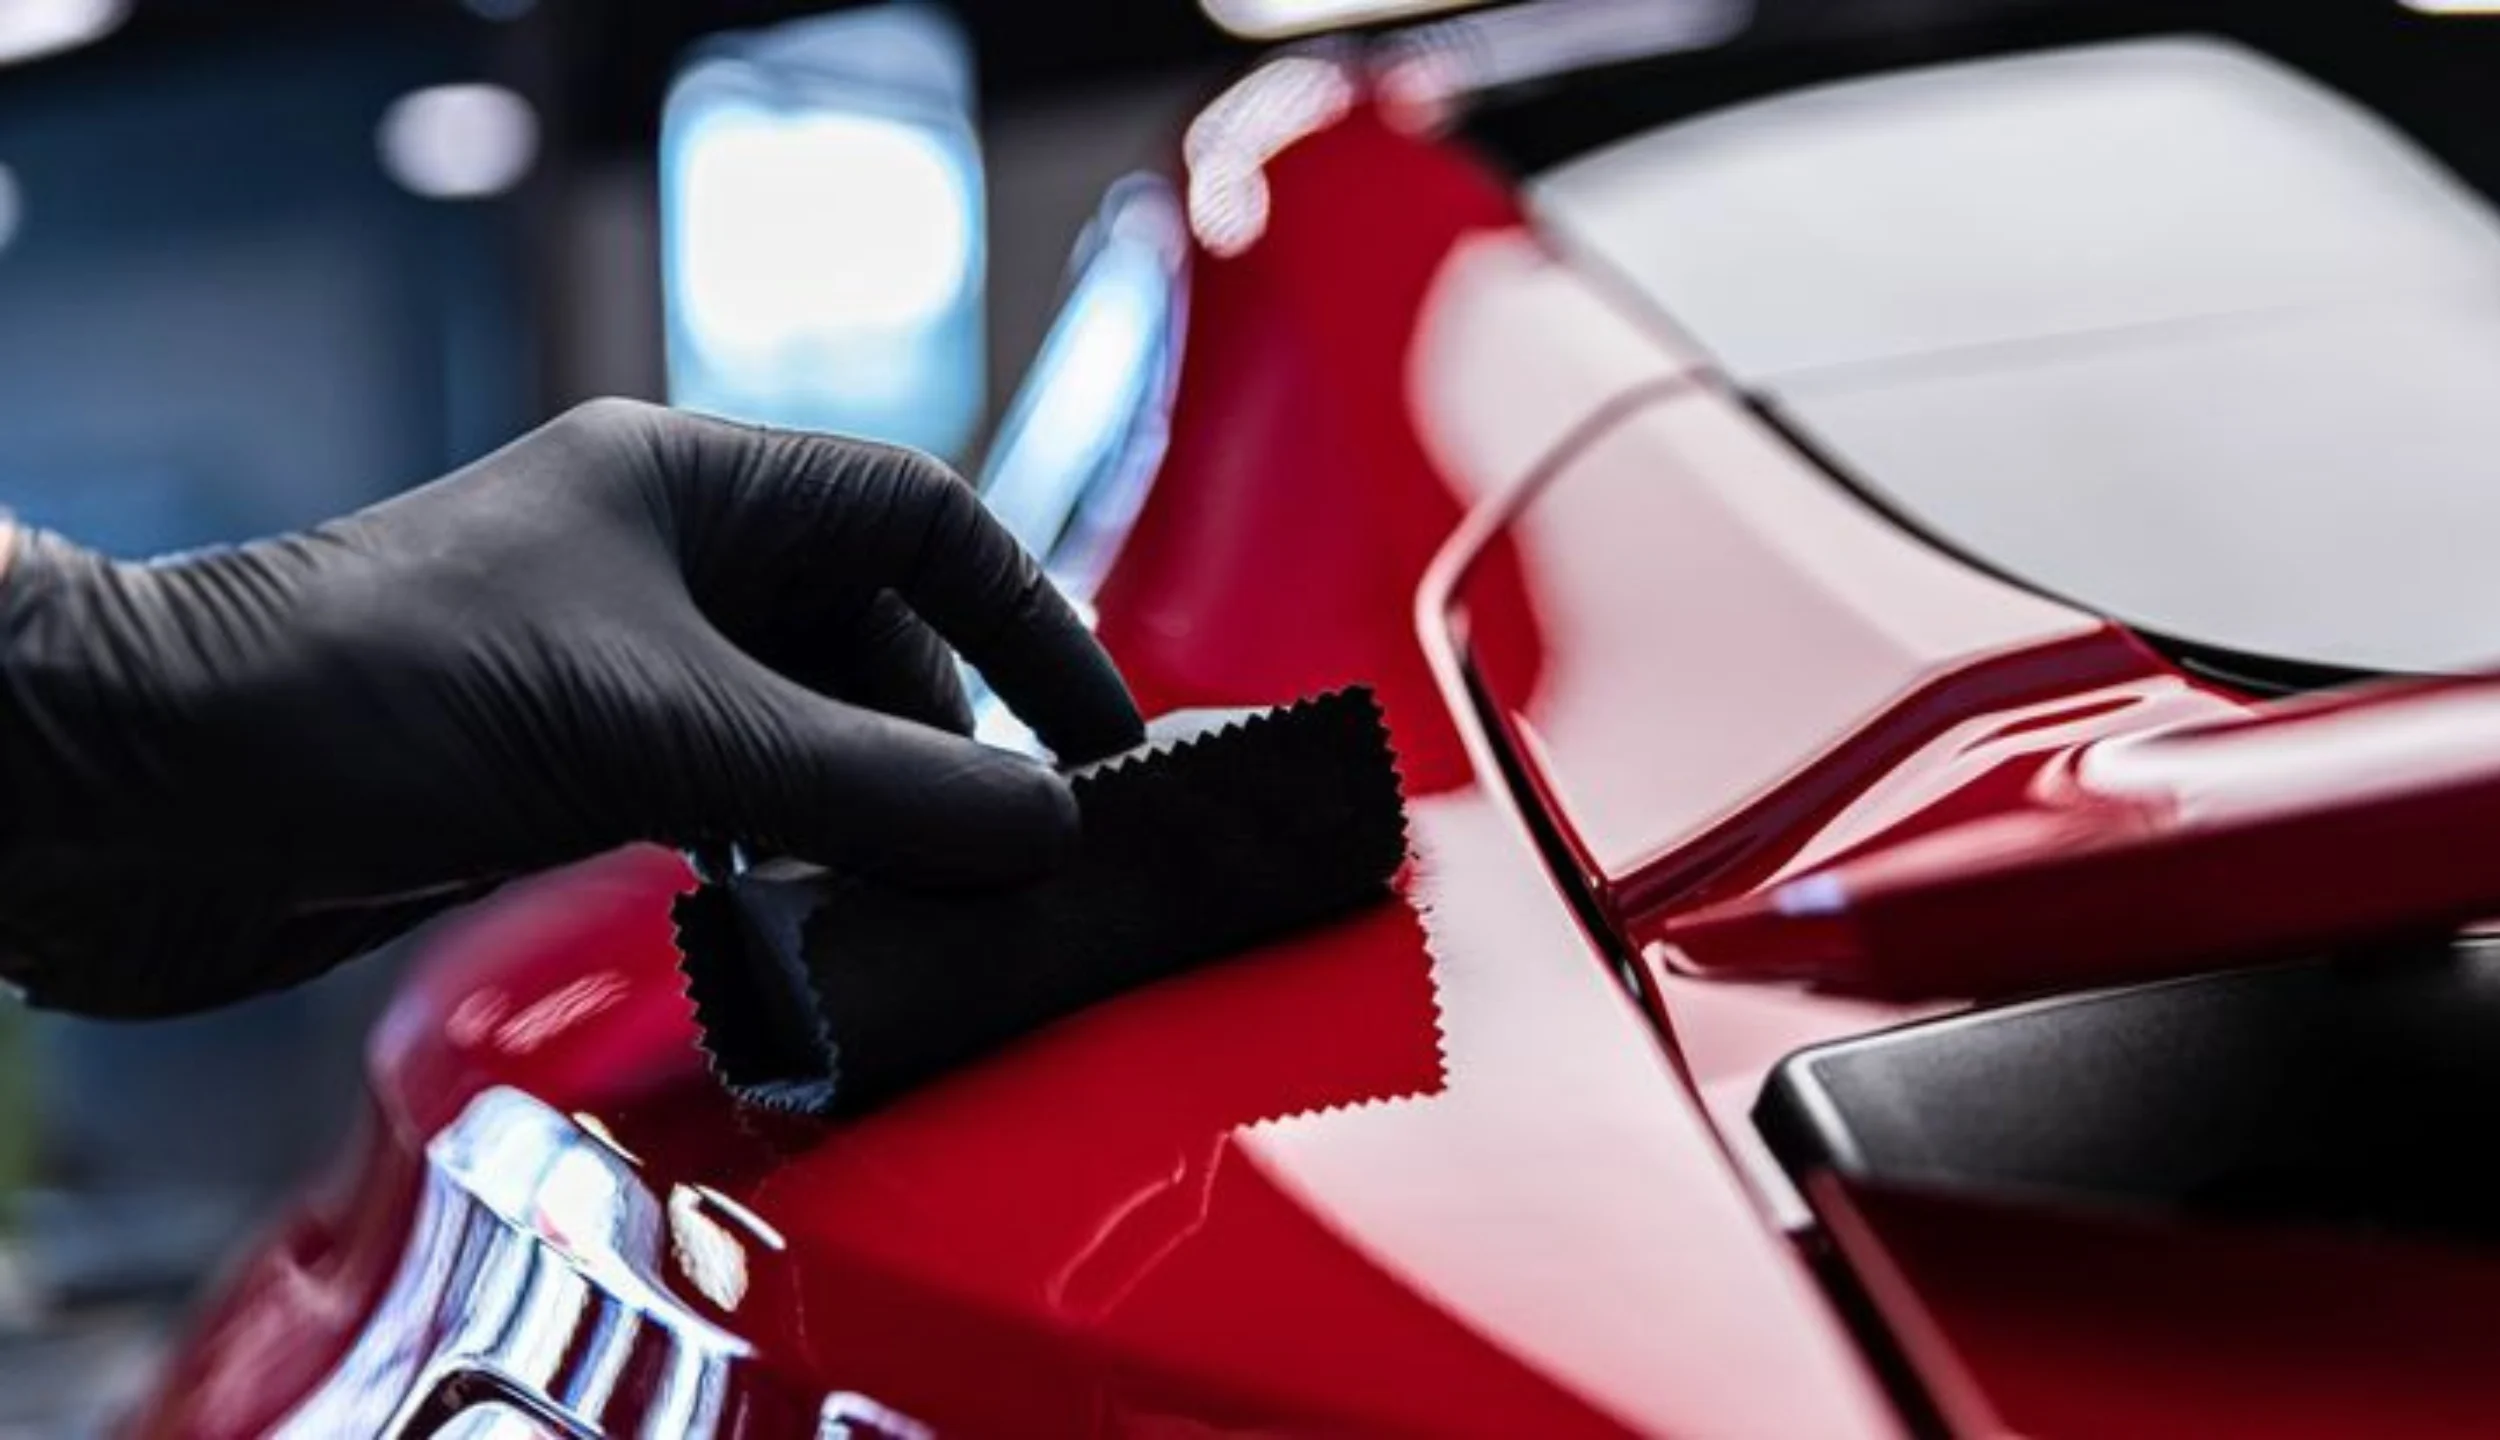
Step 4: Apply the Coating
-
Apply 2–3 drops of ceramic coating on the applicator pad.
-
Gently spread the coating in straight-line motions over the section, ensuring complete coverage. Avoid circular motions, which can create uneven layers.
-
Work panel by panel to maintain control over the process.
Step 5: Level the Coating
After applying, allow the coating to flash (briefly bond to the paint) for the time recommended by the manufacturer, usually a few minutes. Use a clean, soft microfiber towel to gently wipe off excess coating and level the layer. Inspect under proper lighting to ensure there are no streaks, high spots, or missed areas.
Step 6: Curing Process
Ceramic coatings require time to cure fully. Some brands benefit from infrared lamps or ambient heat to accelerate curing, while others cure naturally at room temperature. Avoid exposing the vehicle to water, dust, or extreme weather for at least 12–24 hours to ensure maximum durability.
Step 7: Final Inspection
Once the coating is applied and cured, inspect the car under bright, focused lighting to confirm an even, glossy finish. Touch up any missed spots with a small applicator or microfiber cloth.
Conclusion
Applying ceramic coating like a professional is all about preparation, precision, and patience. From thorough washing and paint correction to proper application, leveling, and curing, each step contributes to a flawless finish and long-lasting protection. By following these professional techniques, detailers can deliver durable, hydrophobic surfaces that enhance both the appearance and longevity of any vehicle.


